

How to Replace the Rubber Seal Inside a Toilet Tank?
A worn or damaged rubber seal inside the toilet tank is one of the most common causes of toilet leaks, continuous running water, and weak flushing. Fortunately, replacing a toilet tank rubber seal is a simple DIY task that most homeowners can complete in less than an hour. This step-by-step guide will walk you through the entire process.
What Is the Rubber Seal Inside a Toilet Tank?
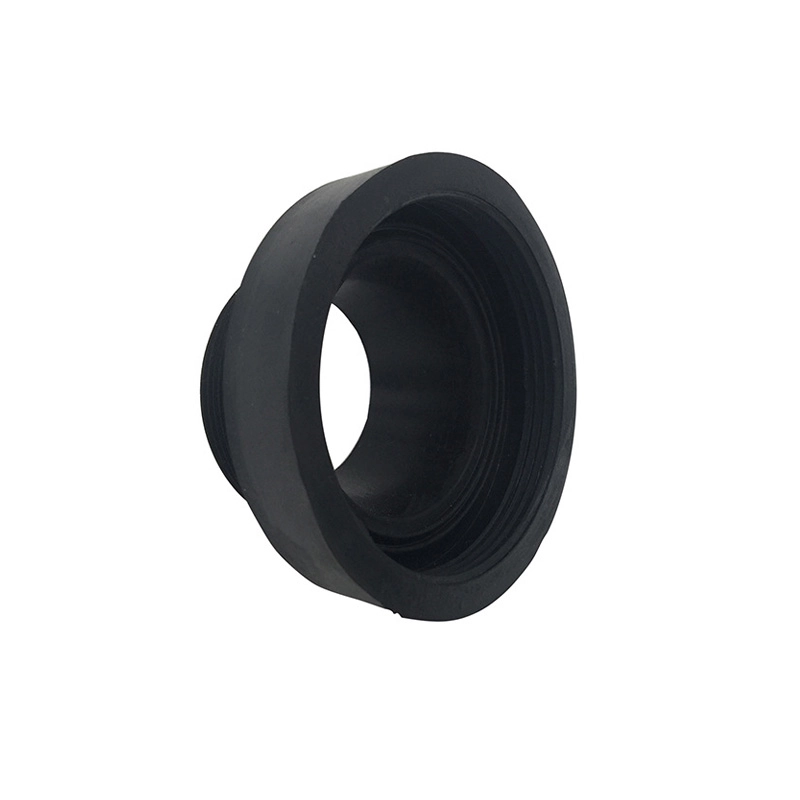
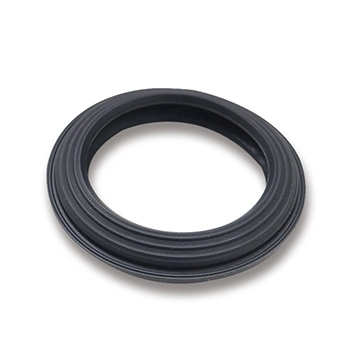
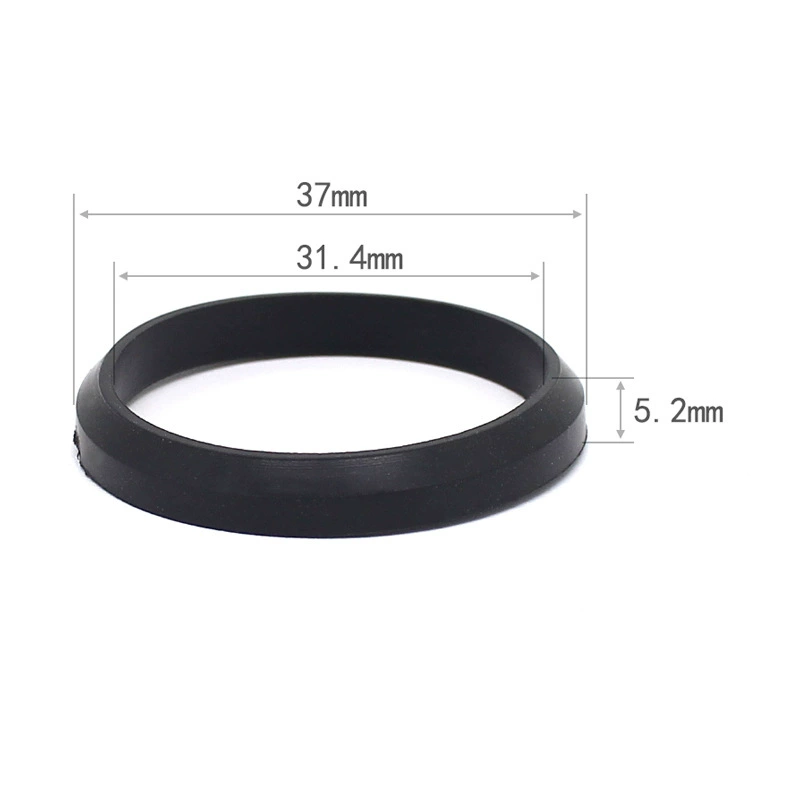
The rubber seal inside a toilet tank is usually part of the flush valve seal or fill valve seal. Its main function is to prevent water from leaking from the tank into the bowl when the toilet is not being flushed. Over time, rubber seals can harden, crack, warp, or lose elasticity due to constant water exposure and mineral buildup.
Signs You Need to Replace the Toilet Tank Rubber Seal
Before replacing the seal, look for these common warning signs:
Toilet keeps running after flushing
Water slowly leaks into the bowl
Weak or incomplete flush
Higher-than-normal water bills
Visible cracks, deformation, or stiffness in the seal
If you notice one or more of these symptoms, replacing the rubber seal is likely the solution.
Tools and Materials You’ll Need
Prepare the following items before starting:
Replacement rubber seal (flush valve seal or fill valve seal)
Adjustable wrench or pliers
Sponge or small cup
Towel or rag
Mild cleaner (optional)
Make sure the replacement seal matches your toilet model and size for a proper fit.
Step-by-Step Guide to Replacing the Rubber Seal
Step 1: Turn Off the Water Supply
Locate the shut-off valve near the base of the toilet and turn it clockwise to stop the water flow.
Step 2: Drain the Toilet Tank
Flush the toilet to empty most of the water from the tank. Use a sponge or towel to remove any remaining water at the bottom.
Step 3: Open the Toilet Tank Lid
Carefully lift off the tank lid and place it on a flat, safe surface to prevent cracking.
Step 4: Remove the Old Rubber Seal
Depending on your toilet design:
Flush valve seal: Detach the seal from the flush valve opening at the bottom of the tank.
Fill valve seal: Remove the fill valve cap and take out the worn rubber gasket inside.
Inspect the old seal for signs of damage or mineral buildup.
Step 5: Clean the Valve Area
Wipe the valve seat clean to remove dirt, debris, or limescale. A clean surface ensures a tight seal and prevents future leaks.
Step 6: Install the New Rubber Seal
Place the new rubber seal in the same position as the old one. Make sure it sits flat and evenly without twisting or folding.
Step 7: Reassemble and Refill the Tank
Reattach any components you removed. Turn the water supply back on and allow the tank to refill completely.
Test the Toilet for Leaks
Flush the toilet several times and observe the tank:
Check for leaks around the valve area
Ensure the toilet stops running after each flush
Confirm the flush is strong and complete
If everything works properly, the replacement is complete.
Common Mistakes to Avoid
Using the wrong size or type of rubber seal
Over-tightening plastic parts, which can cause cracks
Skipping the cleaning step before installing the new seal
Reusing old or partially damaged seals
How Often Should Toilet Rubber Seals Be Replaced?
On average, toilet tank rubber seals last 3–5 years, depending on water quality and usage frequency. Replacing them proactively can help prevent leaks, water waste, and costly repairs.
Final Thoughts
Replacing the rubber seal inside a toilet tank is a quick, affordable, and effective way to restore proper toilet performance. With basic tools and the right replacement seal, you can fix common toilet issues and extend the lifespan of your toilet system.
For best results, always choose high-quality rubber seals designed for durability, water resistance, and long-term sealing performance.
 Tank to Bowl Toilet Gasket Wholesale Custom
 Urinal Drain Seal Gasket Wholesale Supplier
 Box-Type Toilet Seat Cistern Seal Wholesale
 Rubber Gasket for Squat Toilet Flush Valve